DIY Bunting Checklist: Everything You Need Before You Start
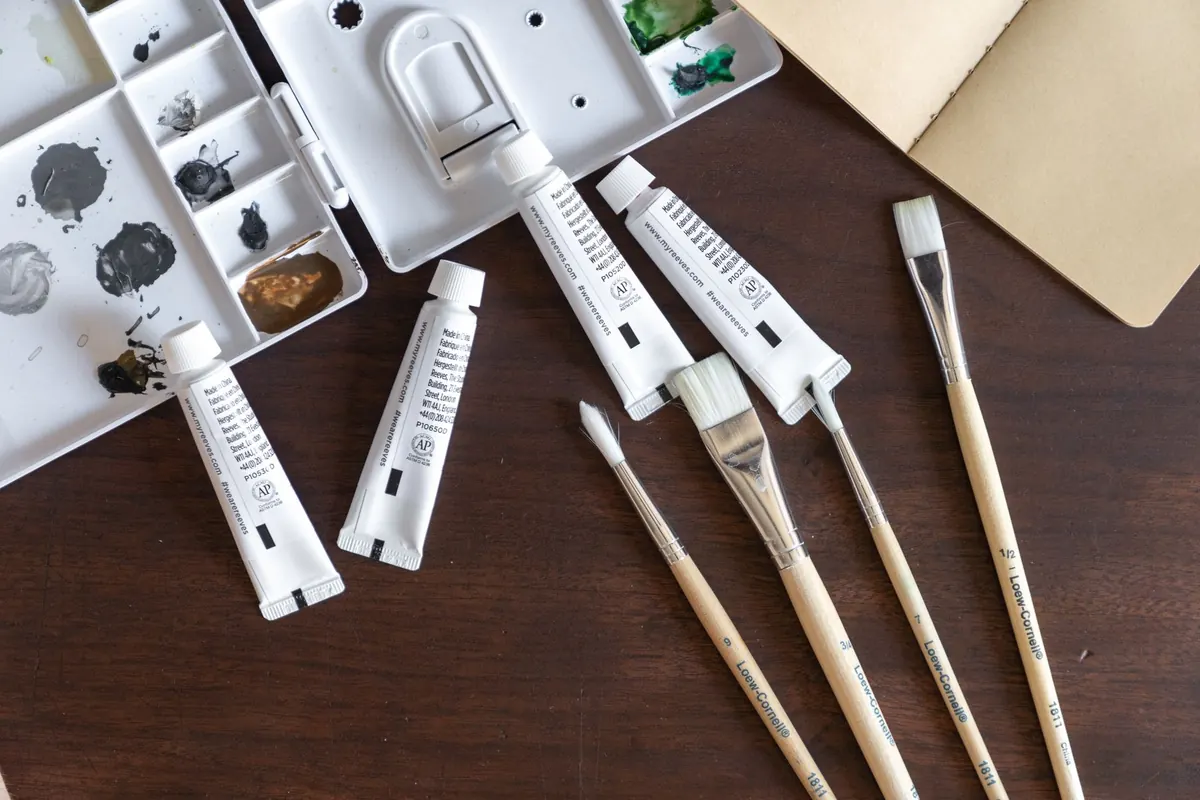
Bunting looks like the easiest party decoration in the world until you are halfway through cutting forty triangles with the wrong scissors, or you discover the tape you bought covers two thirds of the wall. Most bunting projects go wrong before the first cut — in the planning, not the sewing. Ten minutes of gathering and measuring now saves an hour of improvisation later.
Below is the checklist worth printing and keeping on the table while you work. It covers the numbers you need to decide first, the materials that behave well, and the two routes you can take: sew or no-sew.
Decide the Length and Flag Size First
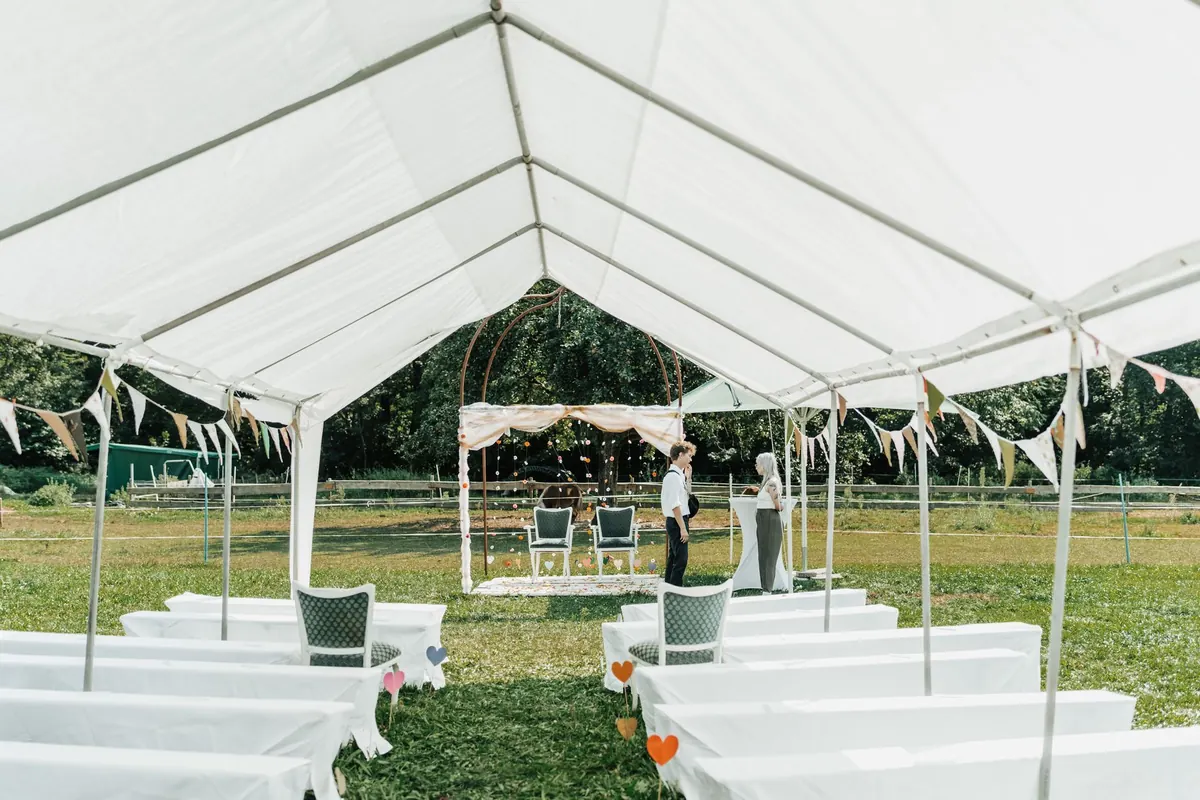
Everything else depends on these two numbers, so settle them before you buy fabric. Measure the span you want to cover — wall to wall, corner to corner of a marquee, or the width of a cake table. Then add allowance for drape. A taut line across a room is the shortest version; a gently swooping swag needs noticeably more. As a working rule, add around a quarter extra to the straight measurement for a soft swag, and more if you want deep loops.
For the flags themselves, a 20 cm wide by 25 cm tall triangle (roughly 8 x 10 inches) is the classic size and reads well from across a room. Smaller venues and cake tables suit 15 x 18 cm. Leave a gap of 2–5 cm between flags for a full look, or wider gaps for a sparser, more modern line.
To work out how many flags you need:
- Take your total span and add the drape allowance.
- Add your flag width to your gap size — for example, 20 cm + 4 cm = 24 cm.
- Divide the span by that number. Three metres divided by 24 cm gives 12.5, so cut 12 flags.
- Buy binding tape at roughly 2.5 to 3 times the span if you are folding it over the flag tops.
Choose Fabric That Cooperates
Fabrics that behave well
Quilting cotton, calico, cotton blends, poplin and lightweight linen all cut cleanly, press flat and hold a crease. They are forgiving if your cutting is slightly off. Avoid slippery satins and silks, stretchy jersey, and anything heavy like canvas or upholstery weight — the first slides, the second pulls the tape out of shape.
Pre-wash and press your fabric before cutting. Cotton shrinks, and bunting that shrinks after assembly puckers along the binding. Wash in the way you would wash a garment of that colour, dry it, then iron it flat while it is still slightly damp if the care label allows.
When paper, felt or oilcloth is the better call
Felt does not fray, which makes it the friendliest option for no-sew bunting and for children's projects. Cardstock, oilcloth and laminated fabric hold a crisp shape and survive a single event beautifully. For reusable bunting you intend to keep for years, cotton is still the best value.
The Cutting Kit
- Fabric scissors, kept for fabric only
- Pinking shears, if you are going no-sew
- Rotary cutter, cutting mat and a long quilter's ruler
- A stiff template — card or plastic, cut precisely once
- Tailor's chalk or a disappearing fabric pen
- Pins or sewing clips
- An iron and ironing board within reach
The template matters more than people expect. Making one accurate triangle from card means every flag matches, and you can trace around it in seconds rather than measuring each piece. If you are using a rotary cutter, cut strips first and then angle the ruler across them — it is faster and far more consistent than cutting single triangles.
Sewing Kit or No-Sew Kit?
If you are sewing
- Sewing machine with a fresh needle for mid-weight fabric
- Thread matched to the binding tape, not the flags
- A filled bobbin, plus a spare
- Seam ripper, because the first flag is always the practice one
If you are not sewing
- Fusible web or double-sided bonding tape for hems and seams
- Permanent flexible fabric glue — the kind that stays slightly pliable when dry
- Fusible bias tape, which folds and sticks with an iron
- A pressing cloth, so you do not scorch the fabric or gum up your iron
Test any adhesive on a scrap of your actual fabric first. Some glues stiffen cotton into cardboard, and some leave a visible shine through pale colours. A five-minute test saves a whole afternoon of regret.
Binding, Tape and Hanging Hardware
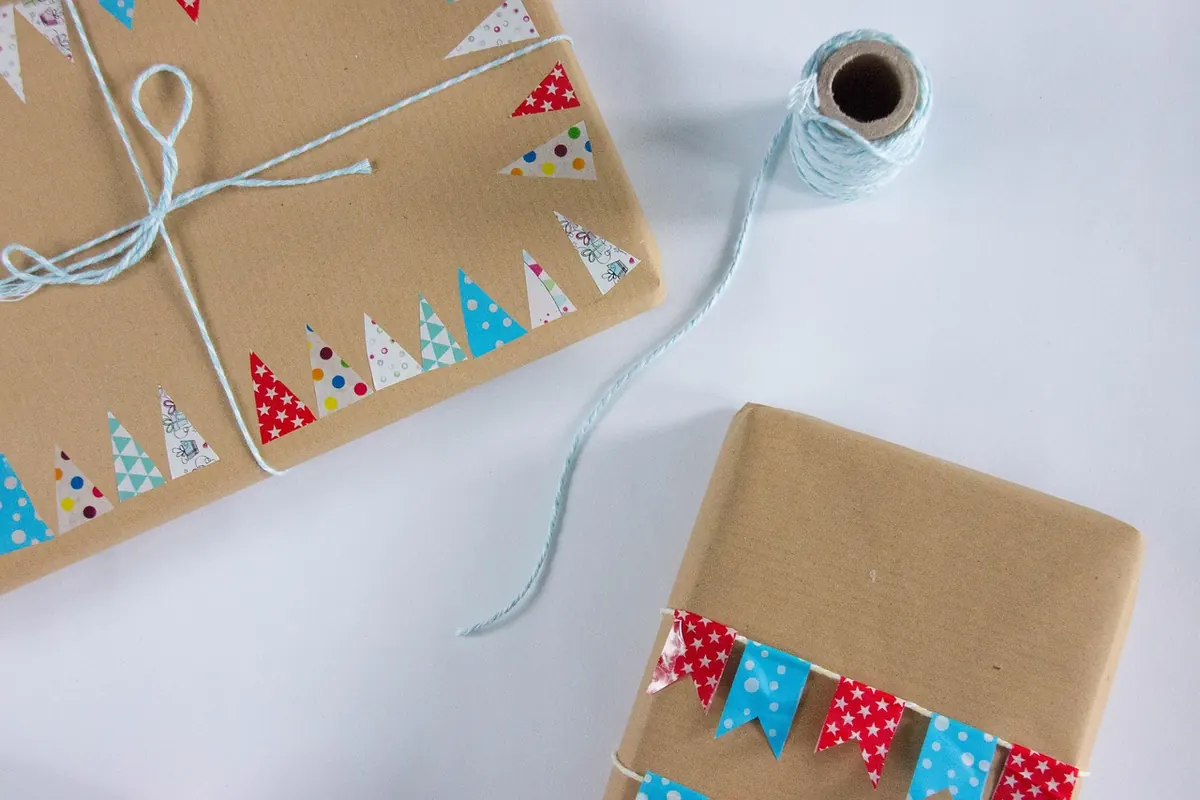
Double-fold bias tape in 2.5 cm width or wider is the standard for enclosing flag tops. Ribbon, twill tape, jute string and cotton cord all work too, though anything thin will cut into the fabric over time. For a rustic look, jute or garden twine with flags glued over the top and a small backing square is quick and sturdy.
For hanging, gather more than you think you need:
- Cup hooks, picture pins or adhesive hooks rated for the weight
- Bulldog clips or safety pins for quick adjustments on the day
- Zip ties and twine for outdoor setups
- Small weights or pebbles for the ends if it will hang outside in a breeze
Check the weight limit printed on any adhesive hook and follow it — they vary a lot, and bunting with a wet outdoor run of tape is heavier than it looks. If you are hanging high, sort out a step ladder and a second pair of hands before the day, not during it.
Your Printable Checklist
- Measurements: total span, drape allowance, flag width and height, gap size, flag count, tape length
- Fabric: pre-washed, dried and pressed; enough yardage plus a little extra
- Template: one accurate card or plastic triangle
- Cutting: scissors, pinking shears, rotary cutter, mat, ruler, chalk, pins
- Assembly: machine and thread, or fusible web, glue and pressing cloth
- Binding: bias tape, ribbon or cord
- Hanging: hooks, clips, pins, twine, weights
- Extras: iron, pressing cloth, step ladder, spare needle, scrap fabric for testing
Set Up Before You Cut
Clear a table wide enough to lay a full run of tape flat, and put the iron at one end and the machine at the other. Press every piece of fabric before you trace the template, cut one test flag and assemble it completely, tape and all, so you can see the final width and spacing before committing to the rest. Then work in batches: cut everything, press everything, assemble everything. It is quicker, the results are more even, and if you run out of tape you will find out early rather than on the morning of the party.
Photo: Kevin Malik / Pexels