How to Make Fabric Bunting for a Garden Party
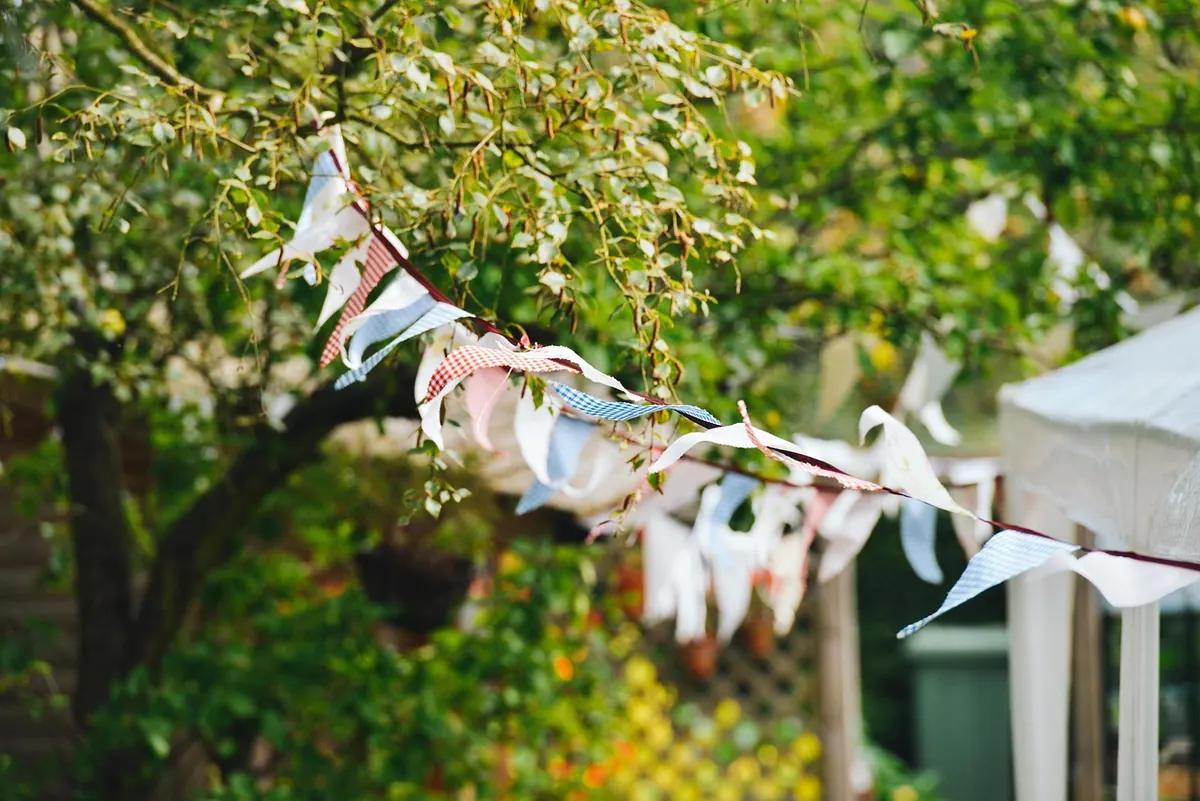
Fabric bunting can look cheerful for years or sag into a faded mess after one windy weekend. The difference is rarely skill. It comes down to fabric choice, seam allowances, and how you hang the line. Get those three things right and your bunting will still look sharp at the end of the summer, even if it spent the whole season strung between a fence and an apple tree.
This guide walks through the whole process: picking cloth that shrugs off damp and sunlight, cutting triangles that hang evenly, and assembling a finished run long enough to span a garden. Allow an afternoon for the first batch. After that, you can sew a new set in an hour.
Choose fabric that can handle the outdoors
The biggest mistake is using whatever is in the scrap basket. Quilting cotton is lovely indoors but fades fast and turns limp when damp. Your bunting needs to hold a triangle shape, resist mildew, and keep its colour after repeated sun exposure.
Good outdoor choices include:
- Canvas or duck cloth — sturdy, holds a crisp point, and takes dye well. Slightly heavier, so best for shorter runs.
- Outdoor upholstery fabric — often treated against UV and water. Check the label says suitable for outdoor use.
- Oilcloth and laminated cotton — completely water-resistant. Wipe clean, but don't iron them directly.
- Polyester-cotton blends — a practical middle ground: lighter than canvas, more durable than pure cotton.
- Marine-grade fabric remnants — often sold cheaply, built for sun and salt.
Avoid anything labelled dry-clean only, and skip fabrics with a loose weave that fray badly, such as some linens and lightweight silks. If you already own a fabric you love and want to use it, treat it with a fabric protector spray made for outdoor textiles. Test on a scrap first, since some sprays darken colours.
A word on colour and pattern
Sun bleaches saturated reds and deep blues faster than you might expect. Mixing tones helps: pair a strong colour with a paler one so fading is less obvious. Small prints and stripes also hide water marks better than large solid blocks. If you want a classic garden party look, three to five fabrics in a repeating sequence works beautifully.
Work out how much bunting you need
Measure the span first, then add slack. A line pulled tight looks mean and will snap in wind. Plan for roughly one extra foot of tape for every ten feet of span, plus a tail at each end for tying.
For triangle spacing, a common and reliable approach is:
- Decide your flag width. A 7-inch (18 cm) top edge with a 9-inch (23 cm) drop suits most gardens.
- Leave a gap that is about half the flag width between triangles.
- Multiply to get your total: for a 20-foot run with 7-inch flags and 3.5-inch gaps, you need roughly 23 flags.
Cut a few spares. Fabric shifts, corners fray, and a spare flag lets you replace a damaged one mid-season without a colour mismatch.
Cut the triangles properly
Cutting is where neat bunting is won or lost. Wobbly edges are visible from across the lawn.
Make a template
Draw your triangle on card or template plastic: a top edge of your chosen width, then straight lines down to a point, centred. Use a quilting ruler and a rotary cutter if you have them. If you are cutting with scissors, draw around the template with tailor's chalk, then cut just inside the line.
Cut on the bias? Not necessarily
Bias cutting reduces fraying on curves, but triangles are straight-edged, so you can cut on the straight grain. Aligning the top edge with the fabric's crosswise grain actually helps the flag hang straight instead of twisting.
Handle the raw edges
You have three sensible options:
- Pinked edges — cut with pinking shears. Fast, and fine for polyester blends that barely fray.
- Folded and sewn — press the side edges in by 1/4 inch, fold again, and stitch. Neatest finish for cotton and canvas.
- Two layers, sewn right sides together — cut front and back, stitch around, turn and press. Strongest option and reversible if you use two different prints.
The two-layer method is the best choice for outdoor bunting. It gives the flag body, hides raw edges completely, and doubles the wear life.
Assemble the flags onto the tape
For the tape, use wide cotton binding, grosgrain ribbon, or a strip of the same canvas cut 2 inches wide. Ribbon is quick but slippery; cotton binding grips the fabric better and is easy to stitch through.
- Lay the tape flat on a table, right side up, and mark the flag positions with pins or chalk.
- Slide each flag's top edge under the tape so it sits between the two folds, or centred on the tape if it is single-layer.
- Pin every flag, then check the whole run against the ground before sewing. It is much easier to fix a spacing error now.
- Stitch along the tape with a straight stitch, backstitching at each end. If you want extra strength, run a second line of stitching just below the first.
- Fold the tape ends into a small loop and stitch down so you have something to thread a tie through.
Use polyester thread rather than cotton. It resists UV damage and won't rot in damp conditions. A universal needle is fine for most fabrics; switch to a heavy-duty needle for canvas and oilcloth.
Reinforce the stress points
The place bunting fails is where the flag meets the tape, especially at the ends of the run. Sew a small bar tack or a short zigzag stitch at each flag's top corners. It takes seconds and prevents the flag tearing away in a gust.
Make it survive wind and weather
Hanging matters as much as sewing. A few practical habits will keep your bunting crisp.
- Give the line gentle droop rather than tension. Tight lines snap; slack lines ride out gusts.
- Tie to fixed points, not thin branches that whip about.
- Avoid hanging bunting above a barbecue or fire pit. Heat and grease mark fabric permanently.
- Bring it in during storms if you can, and store it rolled, not folded, to prevent crease lines.
- If mildew appears, wash gently in cool water with a mild detergent, then dry fully in the sun before storing.
If your bunting will stay up all season, choose oilcloth or marine fabric and expect a few seasons from it. Cotton sets are best treated as reusable for a handful of parties, then retired to indoor duty.
Before you start sewing
Gather everything first: fabric, tape, template, polyester thread, sharp scissors or a rotary cutter, pins, and a sewing machine with a fresh needle. Pre-wash natural fabrics once and let them dry fully, because cotton can shrink after the first rain. Then cut a single test flag, sew it, and hang it on the line for a day. If it holds its shape and the colour pleases you in daylight, cut the rest. That one small test saves an afternoon of regret, and it is the difference between bunting that decorates the party and bunting that becomes part of it.
Photo: stokpic / Pixabay